How to Get Started with SMS Messaging in Singapore: A Step-by-Step Guide
Looking to launch your SMS messaging campaigns in Singapore? Whether you're sending transactional alerts, appointment reminders, marketing, promotions, or OTP it's crucial to follow the proper steps to ensure deliverability and compliance with local regulations. This guide walks you through how to start sending SMS messages in Singapore effectively.
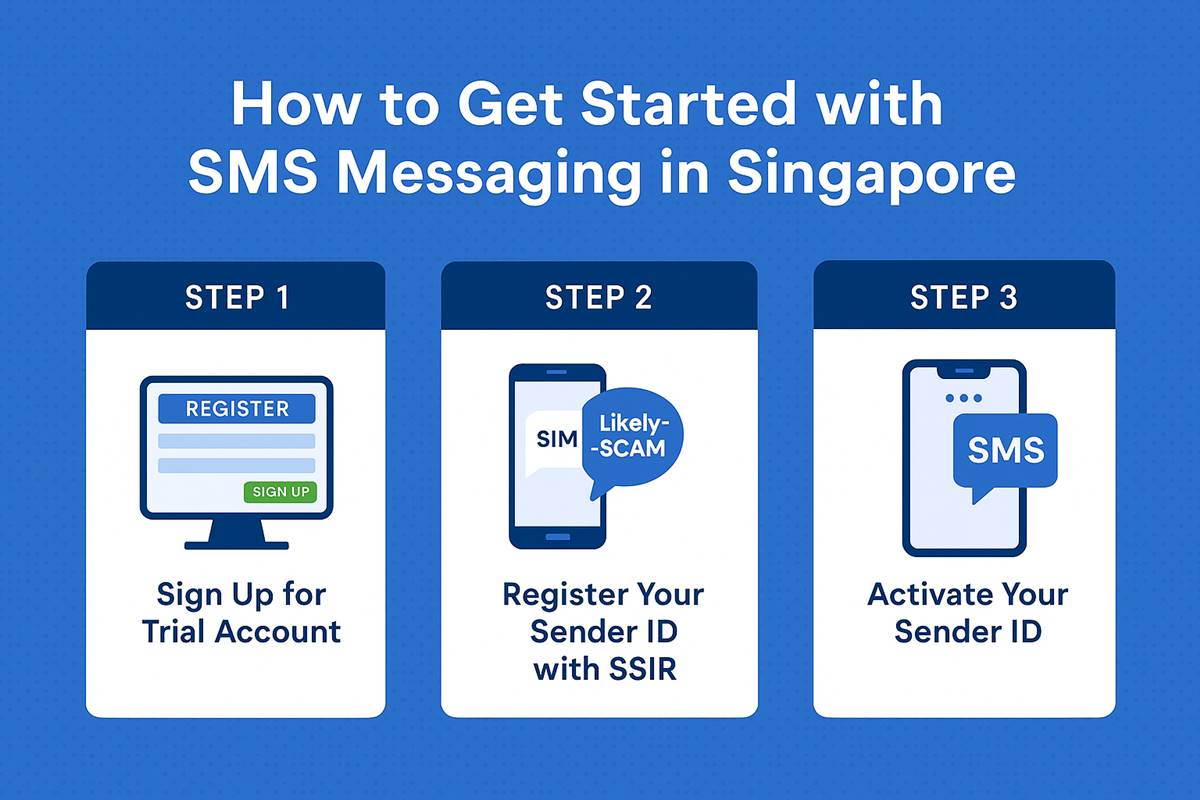
Step 1: Sign Up for a Trial SMS Account
To get started, you'll first need to create a trial account. During the testing phase, you will be using a default testing Sender ID provided by the platform. This allows you to try out the system and send test messages before registering your own Sender ID.
Step 2: Register Your Sender ID with Singapore SMS Sender ID Registry (SSIR)
In Singapore, all Sender IDs must be registered with the Singapore SMS Sender ID Registry (SSIR) to avoid being flagged as spam or scams.
Why This Step Is Important:
Unregistered Sender IDs will be labelled as "Likely-SCAM" when they appear on a recipient's phone. This can severely impact your brand's credibility and message open rates.
2A: Create an SSIR Account
- Visit the official portal: https://smsregistry.sg/web/login
- Only companies registered in Singapore are eligible.
- During registration, you may need to select your Aggregator. Select 'EC Web Pte Ltd'. OneWaySMS Singapore is managed EC Web Pte Ltd
- Complete the sign-up form and submit your application.
- SGNIC (the body overseeing SSIR) typically approves new accounts within 24 hours.
2B: Register Your Sender ID
- Log in to your SSIR account.
- Register your desired Sender ID (maximum 11 characters).
- Once submitted, take a screenshot of the registered Sender ID.
- Email this screenshot to us (sales@onewaysms.sg)
Note: Even if your Sender ID status shows "Approved" in the SSIR portal, it is not live until SGNIC sends you an official confirmation email. Go-live typically takes 1-2 weeks.
Step 3: Activate Your Sender ID
Once SGNIC confirms that your Sender ID is live, we will update your account to use the registered Sender ID.
You can then begin sending live SMS messages using your official Sender ID. It's recommended to test with a small batch first to ensure everything is working as expected.
Final Thoughts
Setting up SMS messaging in Singapore involves a few important steps, but once your Sender ID is registered and approved, you're ready to start engaging your customers with trusted, high-deliverability messages.
Need help getting started? Contact our team to guide you through the Sender ID registration process and start sending SMS with confidence.